The hardest part of soap making is design. Colors? Scent? This is a great opportunity to get those creative juices flowing. However, this is also the point where your choices can lead to an amazing work of art, a so-so soap, or a complete failure. SO MUCH PRESSURE!! I decided to blend a coconut lime verbena fragrance oil with a small amount of mango fragrance oil. I wanted something summery and tropical. I was hoping that the sweetness of the mango would round out the sharp citrus notes of the lime. For color I decided to use a vibrant blue, a light green, a brown with a small amount of glitter, and white. I was going for fresh coconuts, limes, and a bit of water. I also decided to increase the quantities on my color additives from what I would normally use to try and vamp up the color intensity. *This is where I should note that I made a several errors in this batch. I was having one of those days where I was tired, it was late, and I was having trouble focusing. I probably shouldn't have made soap that day*
So, now that that is out of the way....on with the journey! I started measuring my oils. I was almost finished weighing my second oil when I realized I was following the quantity in my recipe for olive oil but was in fact pouring coconut oil! My recipe called for 6.8 ounces of coconut oil and I had already poured 10.1 ounces. I sat down to think for a minute. I didn't want to make a bigger batch. I was a bit low on a couple of my oils. I decided to head to www.soapcalc.net and formulate a new recipe incorporating my nearly 30% coconut oil. I changed the recipe to incorporate the quantities of oils I had already poured and increased my superfat to (hopefully) lessen the potential for dryness from my high percentage of coconut oil. I like a bar of soap that moisturizes my skin. The older I get...the more my skin needs it. Catastrophe avoided, I moved on.
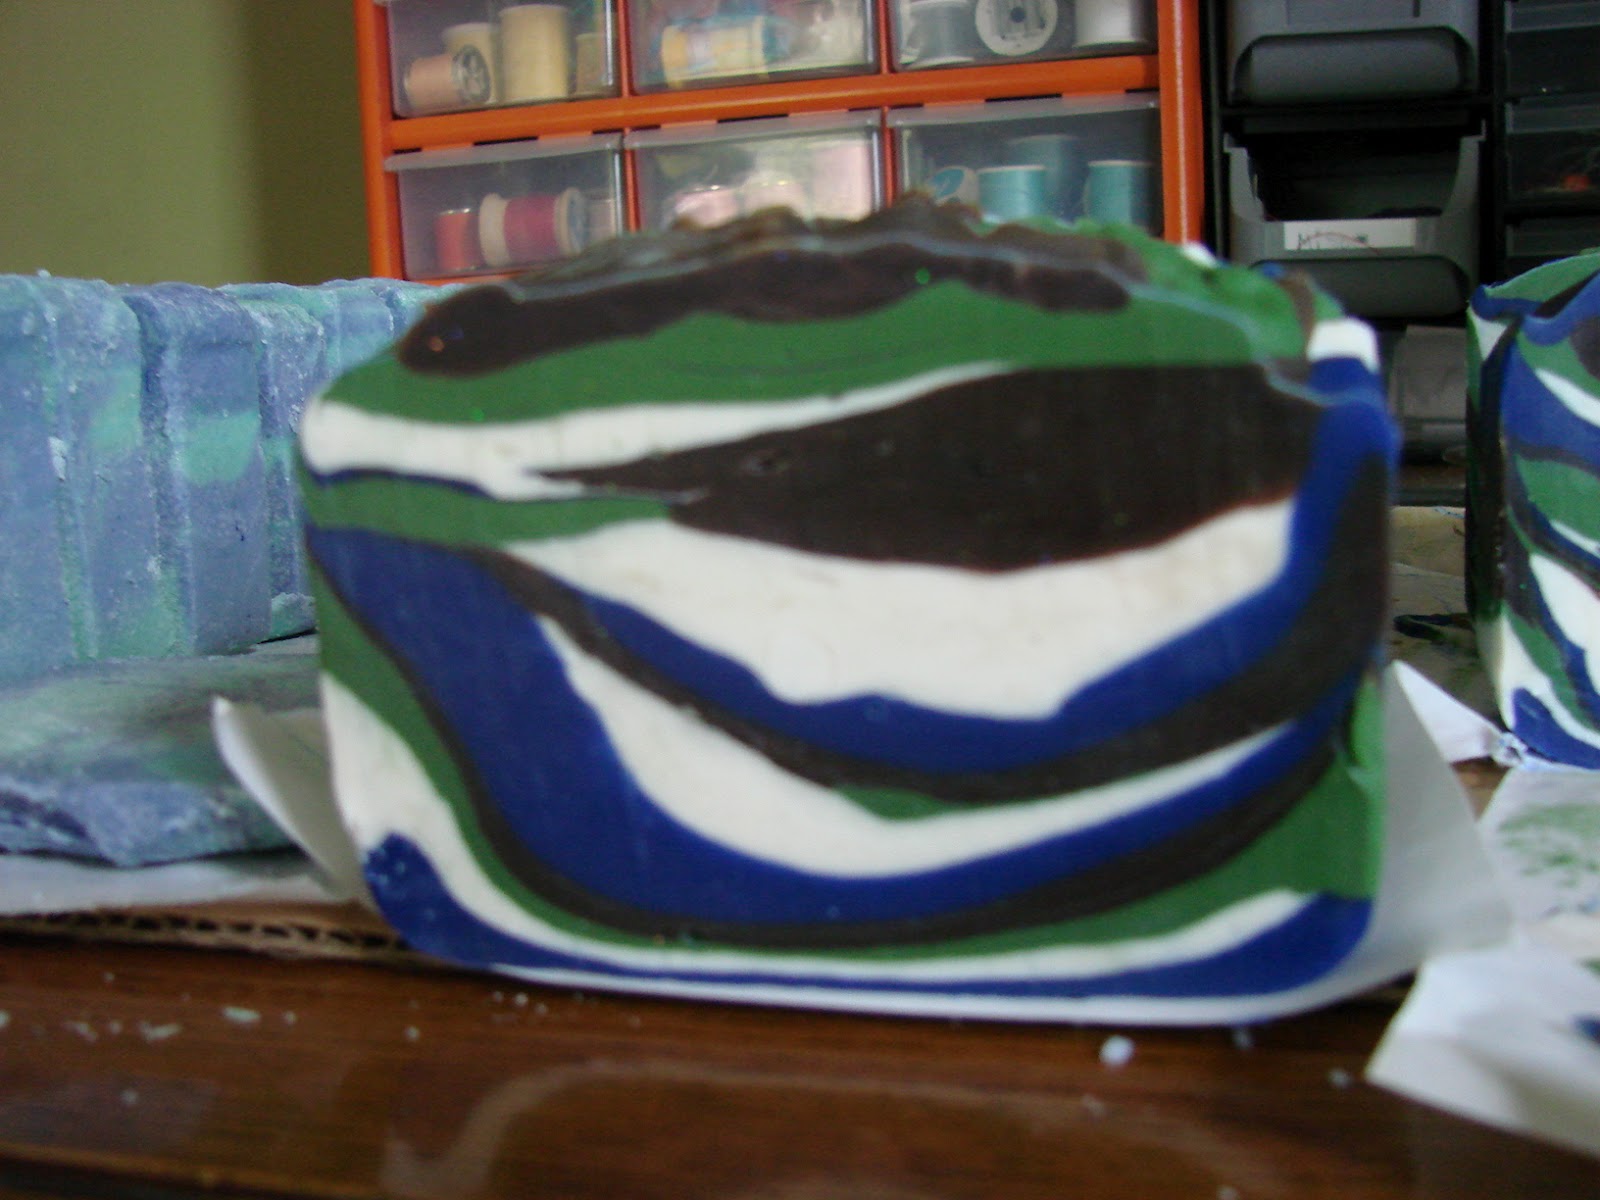
My raw soap came to trace..........immediately! I divided it into my four handy dandy two cup capacity pyrex measuring cups I picked up at my last auction. I blended the colors. Uh oh! My light green? Dark green. My white? Like snow. My water blue? Cobalt. My brown? Perfect. I think I got a little carried away with my colors. I wasn't taking into account my portion size when I increased my quantities. My portion sizes were smaller, so if I would have stuck with my 'standard' quantity of color additive, they would have been bright enough.
Now, remember how it came to trace immediately? Well, it went from trace to heavy trace just as quickly. I began glopping portions of soap into my mold. After each addition I would have to lift my mold about six inches off the counter and slam it down....several times. I finished pouring and dropped my head. Don't get me wrong...it looked....pleasant. But rather than coconut, lime, and water it looked like the earth. Soil, clouds, water, and vegetation! I just couldn't see how that went with the fragrance of coconut lime verbena and mango. Hmmmm.....I made it on Earth Day. Maybe I should name it Earth Day Soap.
I decided to just hope for the best and wait and see what happened the next day when it was cut. I was actually pleasantly surprised. I liked it! I still couldn't see how the colors matched the scent, but I liked the appearance of the bars. With some creative naming, it could work! Maybe it needs to be named something that calls to mind an island or an oasis. I do wish I had cut on the horizontal instead of vertical, but I would have had to shave quite a bit off the top of the loaf since it was at such a heavy trace and I couldn't slam down the mold hard enough to level out the top any more.
It really does smell lovely. The biggest drawback, however, is the color saturation. I knew that the color would come through to the lather...and it does. The lather is a blue green color. It doesn't stain, but it doesn't look great either. The recipe worked out great. It produced a hard, super smooth bar with a ton of lather. It is moisturizing as well.. I may have accidentally discovered my new standard soap recipe. Thank you God for that gift!
 |
| First Cut |
 |
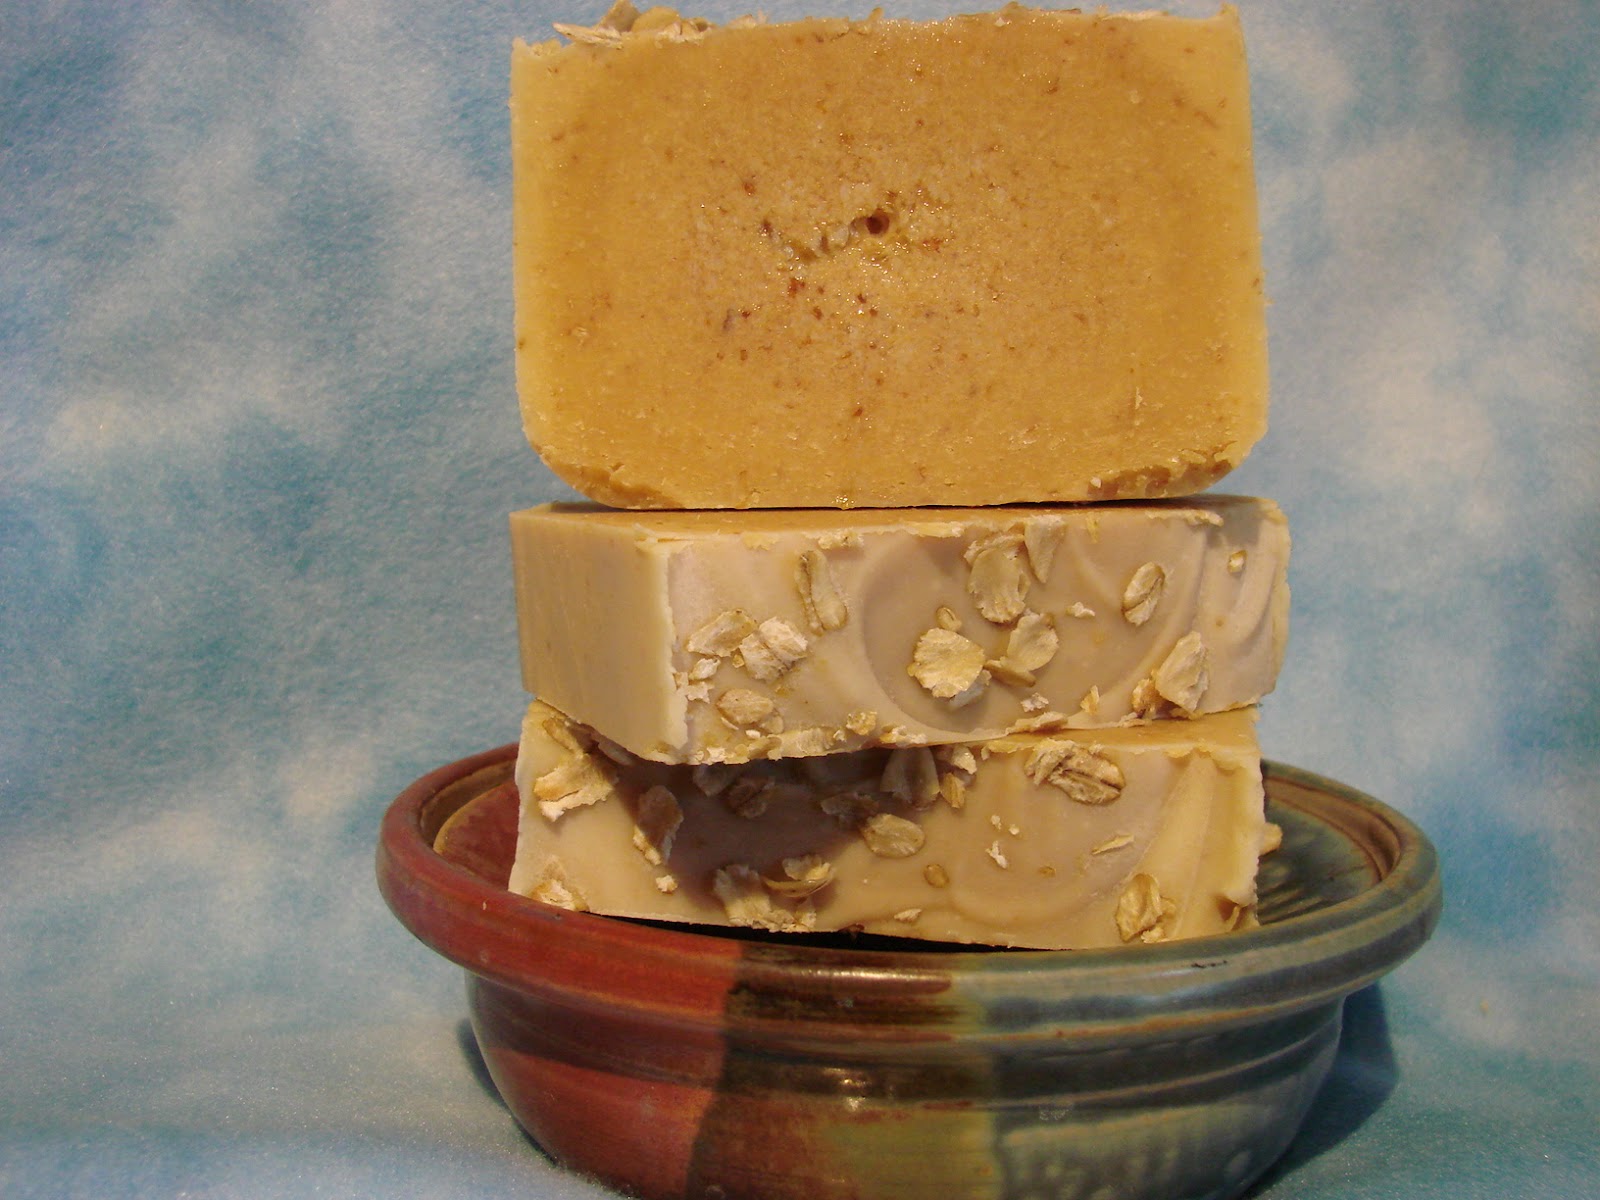
| All soaps fresh cut |
 |
| After a week ~ Faux Funnel |
 |
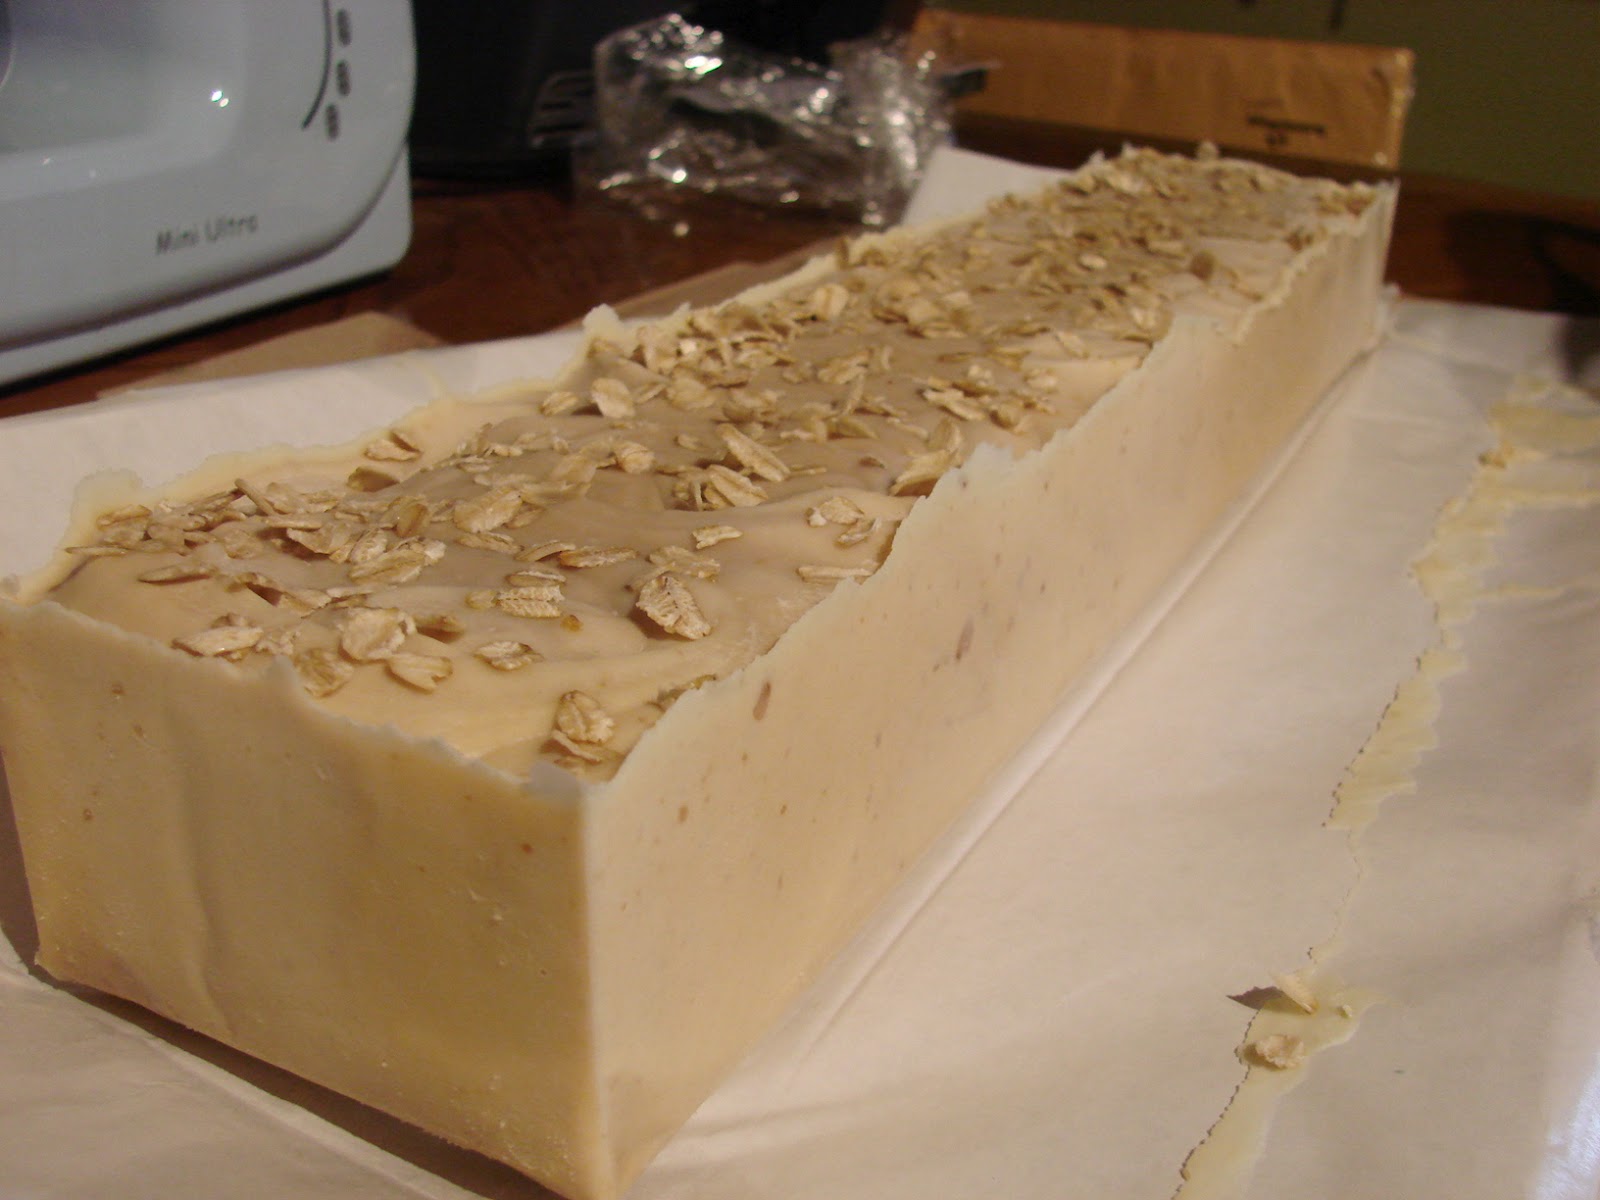
| Quite a bit of variation through the loaf. Tops are as poured, no fancy changes (except slamming the mold down to attempt to flatten) |